
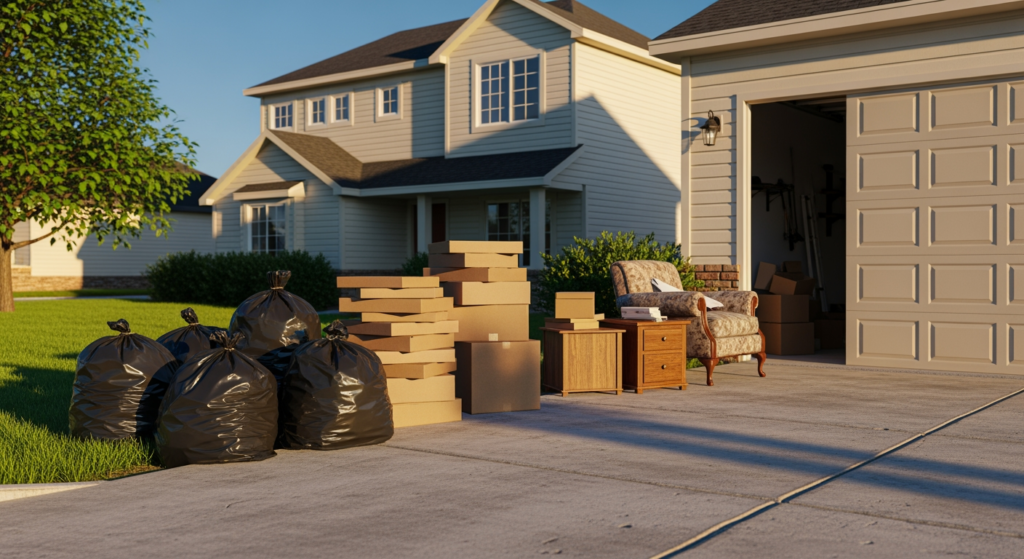
Moving is stressful enough without a last-minute pile of bags, boxes, and “where did this even come from?” clutter taking over your driveway. If you’re a homeowner or renter planning a clean exit, having a simple plan for move-out trash can save time, reduce mess, and help you avoid awkward surprises like overflowing bins or rejected items at the curb. This matters because disposal rules, pickup limits, and acceptable materials can vary by provider and area—so guessing can turn into extra trips, extra fees, or extra frustration. In spring, when many households are already decluttering and refreshing, it’s also easy to underestimate how quickly discard piles grow. The good news: with a quick sort-and-stage process, you can make move-out cleanup far more predictable.
Before you start hauling everything outside, review the basics of how curbside service typically works—especially set-out practices and what may be limited. Our guide on Understanding Curbside Garbage Pickup: Processes and Benefits is a helpful starting point for planning a smoother, less chaotic set-out.
If you’re looking for local help with move-out trash pickup in Athens, GA, it’s smart to line that up early so you’re not trying to solve disposal logistics while you’re also juggling keys, cleaners, and final walkthroughs.
What You Need to Know First
- Start by sorting into clear categories: everyday trash, recycling, donations, and items that require special handling.
- Estimate volume early so you can decide whether your regular cart is enough or if you need extra capacity.
- Bag and box items in a way that’s easy to lift and won’t spill—especially lightweight packing debris.
- Confirm what your provider will and won’t take at the curb; rules and limits can vary locally.
- Stage materials in a single, accessible spot to speed up loading and reduce “forgotten pile” moments.
How Move-Out Disposal Planning Actually Works
Preparing for a move-out cleanout is basically a short project: you’re managing volume (how much you have), materials (what it’s made of), and timing (when it needs to disappear). The most common headache is treating all discards the same—when in reality, cardboard, bagged household waste, broken furniture, and leftover renovation debris may be handled differently depending on your service.
A reliable approach is to set up a simple “flow”: sort inside, containerize (bags/boxes), stage near the exit, then move to a set-out area. When you do it in that order, you reduce repeated lifting and you’re less likely to mix items that shouldn’t go together.
Why Timing and Volume Can Make or Break Your Cleanout
Move-out cleanouts often fail for predictable reasons: too much material shows up too late, and it’s not packaged in a way that’s easy to remove. If you wait until the final day to consolidate everything, you may end up with more than your containers can hold, heavier-than-expected loads, and a scramble to find a backup option.
There are also practical costs: extra trips to drop-off sites, purchasing last-minute supplies, or paying for additional service. From a safety standpoint, rushing increases the chance of strained backs, cuts from sharp edges, and spills from overfilled bags or open boxes.
Common Move-Out Cleanout Errors to Avoid
- Overfilling bags or boxes: They rip, spill, and become harder to lift safely.
- Mixing recyclables with food or liquids: Contamination can cause recycling to be rejected depending on local rules.
- Leaving loose debris uncontained: Lightweight packing material can blow around and create a cleanup problem.
- Assuming all large items are accepted at the curb: Bulky items and certain materials may require separate arrangements.
- Ignoring sharp or breakable items: Glass, splintered wood, and metal edges should be wrapped or boxed to reduce injury risk.
- Waiting to confirm pickup details: Set-out expectations, limits, and add-on options can vary—verify early.
A Step-by-Step Plan to Prepare for Move-Out Trash
What you’ll achieve: A staged, clearly sorted set of discard materials that’s easier to remove, less likely to overflow your containers, and simpler to coordinate with pickup or hauling.
Prerequisites (gather first):
- Heavy-duty trash bags (and a few extra)
- Medium boxes for light, bulky items (packing paper, small plastics)
- Gloves and closed-toe shoes
- Marker and tape (for labeling)
- A designated staging spot (garage corner, carport edge, or near the exit)
-
Do a quick walk-through and estimate volume.
Tip: Look for “hidden generators” like closets, under-sink cabinets, attic corners, and the garage. If you’re already near container capacity, plan for overflow before you start bagging.
-
Set up four zones: trash, recycling, donate, and “needs special handling.”
Tip: Use painter’s tape on the floor or label boxes to keep the zones from blending together as you get tired.
-
Break down cardboard and bundle it neatly.
Tip: Flatten boxes as you empty rooms. A small stack of flattened cardboard takes far less space than a mountain of air-filled boxes.
-
Bag household waste in liftable loads.
Tip: If a bag feels like it’s over ~25–30 pounds, split it. Two manageable bags beat one bag that tears at the worst possible time.
-
Box loose, lightweight debris so it doesn’t scatter.
Tip: Packing peanuts, plastic wrap, and shredded paper behave like they’re trying to escape. Put them in boxes or tightly tied bags.
-
Separate bulky items and measure access.
Tip: If an item can’t fit through a doorway easily, it’s a sign you should plan the removal path and confirm whether it’s accepted with your service.
-
Confirm set-out rules and schedule with your provider.
Tip: Rules vary by area and provider—especially for extra bags, oversized items, and recycling preparation. A quick confirmation can prevent rejected materials.
-
Stage everything in one “go zone” and do a final sweep.
Tip: Keep the staging area consistent so you don’t end up with random mini-piles around the property. Do one last check of the fridge, bathroom cabinets, and outdoor storage.
Professional Insight: The One Step People Skip
In practice, we often see move-out cleanouts go sideways because people start hauling before they’ve created a staging system. Once items are scattered between rooms, the curb, and the vehicle, it becomes harder to sort correctly—and that’s when recyclables get contaminated, bags get overfilled, and “special handling” items accidentally end up in the wrong pile.
When DIY Isn’t Enough
- Your volume clearly exceeds your cart capacity: If you’re generating multiple extra bags or large piles of cardboard, you may need additional service.
- You have bulky, awkward items: Large furniture, heavy fixtures, or oversized debris can require a different removal approach.
- Time is tight: If you’re balancing cleaning, repairs, and a walkthrough, outsourcing removal can simplify your timeline.
- Access is tricky: Tight driveways, stairs, or long carry distances can increase safety risks and effort.
- You’re unsure what’s accepted: When in doubt, ask before setting items out to avoid rejected materials.
Common Questions Answered
How early should I start planning my cleanout?
As soon as you have a move timeline, start sorting room by room. Even 15–30 minutes a day prevents a last-minute pileup and makes it easier to estimate how much you’ll need removed.
Can I put extra bags out with my regular pickup?
It depends on your provider and local guidelines. Some services allow a limited number of extra bags, while others require pre-approval or an add-on option—confirm before set-out.
What should I do with large cardboard moving boxes?
Break them down flat and keep them dry. If your recycling program has preparation requirements or size limits, follow those rules or ask your provider for the best option.
How do I handle items that might not belong in the bin?
Create a separate “needs special handling” zone and ask your service provider what they accept. When rules vary locally, a quick check helps you avoid mixing items that shouldn’t go together.
What’s the simplest way to avoid a messy set-out area?
Containerize everything: tie bags securely, tape boxes, and bundle flattened cardboard. Keeping materials in a single staging area also reduces scattered debris.
Taking Action
Preparing for a move-out cleanout is easier when you treat it like a short checklist-driven project: estimate volume, sort by category, package safely, and confirm what your service will take. A little structure keeps your set-out area cleaner and your final days less hectic. If you’re dealing with bulky items or more material than your containers can handle, getting help early can save time and reduce stress.
Call AAA Sanitation & Garbage Removal abouy Your Move-Out Trash Cleanout
Be sure to speak with one of our team members at AAA Sanitation & Garbage Removal to get you set up today.