

Recycling can feel simple until you’re standing over the bin wondering what actually belongs there—and what could ruin an entire load. This guide to recycling basics for households is for homeowners, renters, and property managers who want fewer “wish-cycling” mistakes and a cleaner, more consistent routine. Getting it right matters because contamination can increase handling time, create mess and odors, and may lead to recyclable material being rejected depending on local processing rules. In places like Athens, GA, small habit changes—like keeping items clean and dry—can make a noticeable difference in day-to-day bin management, especially during colder months when bins may sit longer between pickups.
For a broader look at why these habits matter beyond your curb, see the importance of recycling in waste management.
The Essentials: What to Do (and What to Skip)
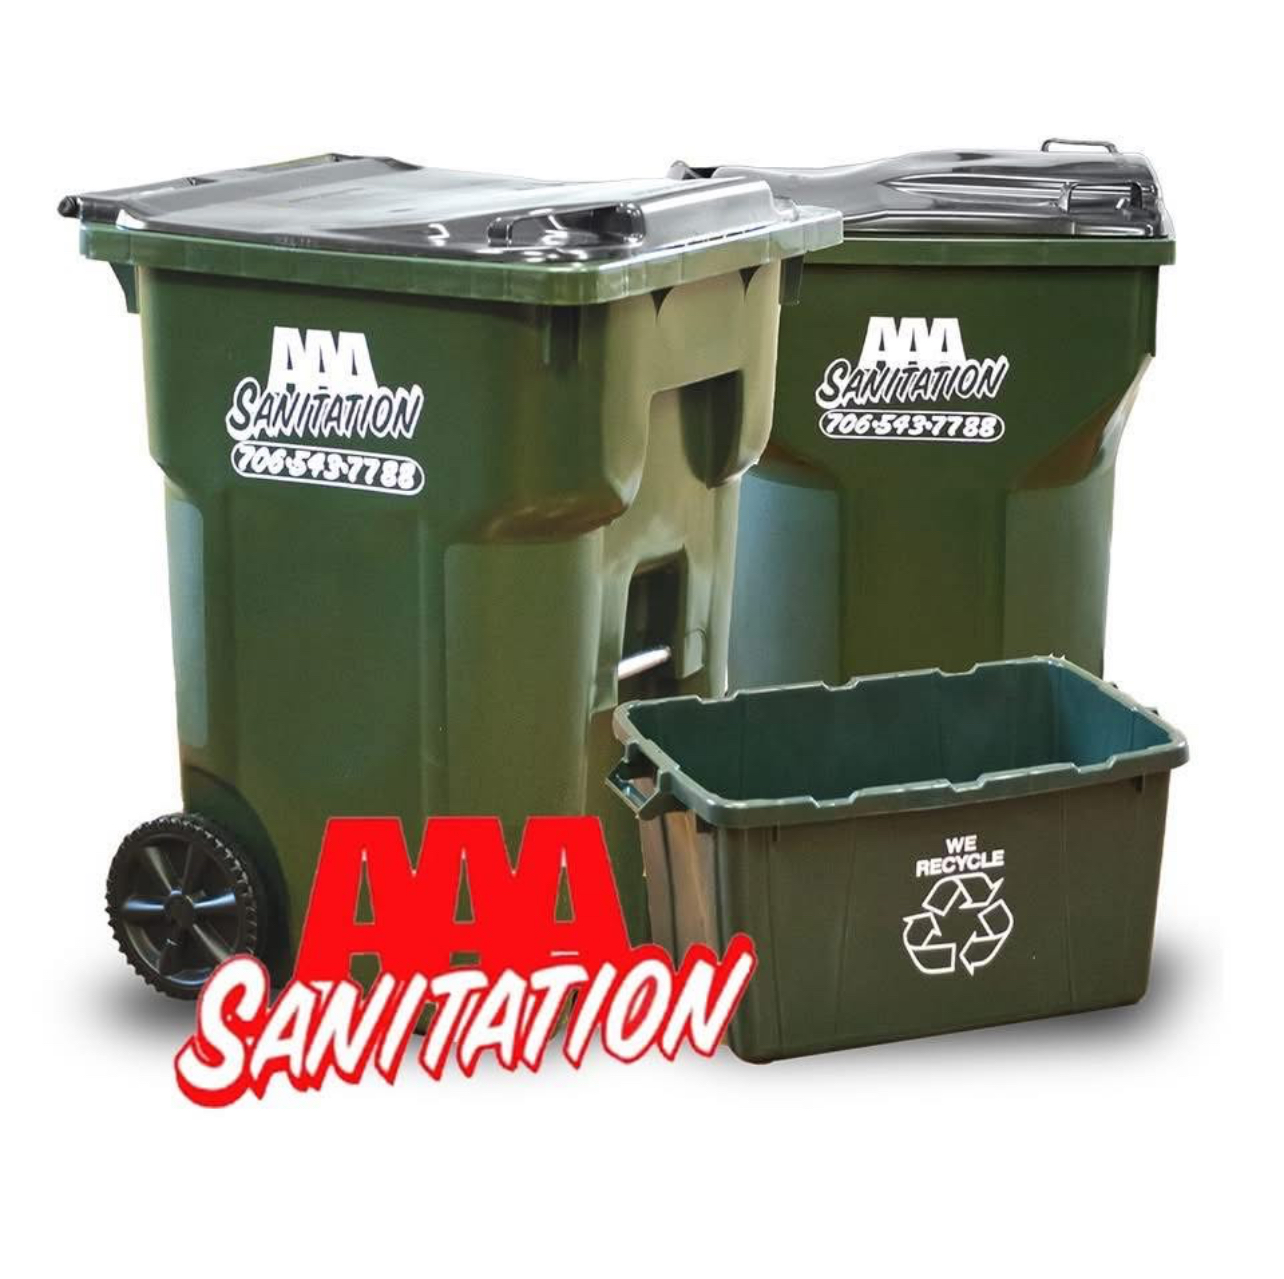
- Stick to common accepted categories: paper/cardboard, metal cans, glass bottles/jars, and many rigid plastic containers—then confirm local rules.
- Keep it clean and dry: empty containers and remove most residue; damp or greasy items can contaminate paper.
- When in doubt, leave it out: “wish-cycling” can cause more harm than tossing an item in the trash.
- Don’t bag recyclables unless instructed: loose items are typically easier to sort; plastic bags can jam equipment.
- Flatten boxes when possible: it saves space and helps collection run more smoothly.
How Household Recycling Works: A Simple Mental Model
Most household recycling programs rely on a few basic steps: you place accepted items in a designated container, the material is collected, and it’s sorted at a facility. The key point is that sorting systems are designed around consistent materials—clean paper fibers, rigid containers, and metals that can be separated efficiently. Items that are dirty, mixed-material, or tangly (like films and cords) can slow down sorting and sometimes cause entire batches to be set aside.
Because rules and capabilities vary by community and facility, the most reliable approach is to learn the “core” categories and then confirm any gray areas locally (especially for plastics and glass handling). If your hauler or local program provides a list, follow that list first.
The Real Impact of Contamination on Your Bin and Your Budget
Contamination isn’t just a technical recycling term—it’s the practical reason bins overflow, smell, or become harder to manage. When food residue gets into paper or cardboard, it can spread moisture and odors and make cleanup harder. When plastic bags or wrap are mixed into rigid containers, they can create tangles that complicate processing. And when broken glass is placed loosely in a bin (where allowed), it can create safety concerns for anyone handling the material.
At the household level, the “cost” of contamination often shows up as:
- More mess at home: leaks, residue, and pests if containers aren’t emptied first.
- Less bin capacity: unflattened boxes and bulky packaging fill the cart quickly.
- More time spent re-sorting: especially after a missed pickup or windy day.
- Potential rejection: some programs may tag or decline overly contaminated loads (policies vary).
Common Contamination Traps (Use This Checklist)
- Greasy pizza boxes: the oily parts can contaminate paper fibers; if allowed locally, you may be able to recycle the clean lid and trash the greasy bottom.
- “Rinse later” containers: residue hardens and smells; a quick empty-and-rinse (when practical) is usually easier than dealing with it later.
- Plastic bags and film: often not accepted in curbside programs; they can tangle sorting equipment.
- Shredded paper: can become litter and is difficult to sort; some programs accept it only if contained in a specific way—confirm locally.
- Mixed-material packaging: items made of bonded layers (paper + plastic + foil) are frequently not recyclable curbside.
- Small metal pieces: loose caps, nails, or tiny parts may fall through screens; check program guidance.
- Broken glass: can create handling hazards; rules vary widely—verify before placing it in the bin.
A Practical Home System That Keeps Recycling Simple
- Set up a two-bin station: one for recycling, one for trash, placed where waste is generated (kitchen, garage, or mudroom).
- Post a short “yes/no” list: keep it to your program’s top accepted items and top “no” items to reduce guesswork.
- Empty and quick-rinse when needed: prioritize items that held food or liquid; let them drain so paper stays dry.
- Flatten cardboard immediately: break down boxes as they come in to prevent pileups.
- Keep loose recyclables unbagged: unless your local program specifically requires bagging.
- Create a “question box”: a small container for uncertain items so you can look them up later instead of guessing.
- Handle glass safely: if accepted, keep it intact when possible; if broken, follow local instructions for safe disposal.
Professional Insight: The Small Habit That Prevents Most Problems
In practice, we often see that the biggest improvement comes from one simple pattern: households that treat recycling like “clean storage” (empty, dry, and loosely placed) tend to have fewer overflow issues and fewer mystery items tossed in at the last minute. That mindset reduces odor, keeps paper usable, and makes the whole routine easier to maintain.
When You Should Ask for Help With Waste and Recycling Setup
Consider reaching out for professional support if you’re dealing with any of the following:
- Recurring overflow: your recycling or trash volume regularly exceeds container capacity, even after flattening boxes.
- Ongoing odors or pests: you suspect residue or storage practices are creating sanitation issues.
- Multi-unit or shared bins: contamination is happening because multiple households share carts and rules aren’t clear.
- Business-adjacent waste at home: you generate unusual volumes of packaging and need a better routine for handling it.
- Unclear local acceptance rules: you want guidance on building a simple, compliant sorting system for your property.
Frequently Asked Questions About Sorting and Contamination
Do I need to rinse containers before putting them in the bin?
Many programs prefer containers to be empty and free of most residue. A quick rinse (when practical) and letting items drain can help keep paper dry and reduce odors. Exact expectations vary by local program.
Can I put recyclables in plastic bags to keep the bin clean?
Often, bagged recyclables are not preferred because bags can tangle equipment and may be treated as trash at sorting facilities. Only bag items if your local program specifically instructs you to do so.
Is cardboard with food stains still acceptable?
Light staining may be acceptable in some programs, but greasy or heavily soiled cardboard is commonly a problem because it can contaminate paper fibers. When unsure, remove the clean sections you can recycle and dispose of the greasy parts as trash.
What should I do with items made of multiple materials?
Packaging made from bonded layers (such as paper-plastic-foil combinations) is frequently not accepted in curbside streams. Check your local guidelines; if the item can’t be separated into clean, single-material components, it may belong in the trash.
How can I make recycling easier for my household?
Use a simple station with clear labels, keep a short list of accepted items, flatten boxes right away, and avoid guessing on questionable items. Consistency is usually more helpful than trying to recycle every possible item.
Taking Action: Build a Cleaner Recycling Routine
Strong recycling habits come down to a few repeatable steps: know the main accepted categories, keep items empty and dry, and avoid “wish-cycling” when you’re unsure. A small home setup—two bins, clear labels, and a place for questionable items—can prevent most contamination problems. If your household produces more waste than your current system can handle, adjusting containers and pickup planning can make the process feel effortless.
Learn More About Our Services
Discover how we can help you achieve your goals.